Materials:
1) Yeast
2) Oatmeal, instant potato powder, or baby cereal
3) 2 or 3 plastic tubs with lids (16-30oz volume)
4) Microworm starter
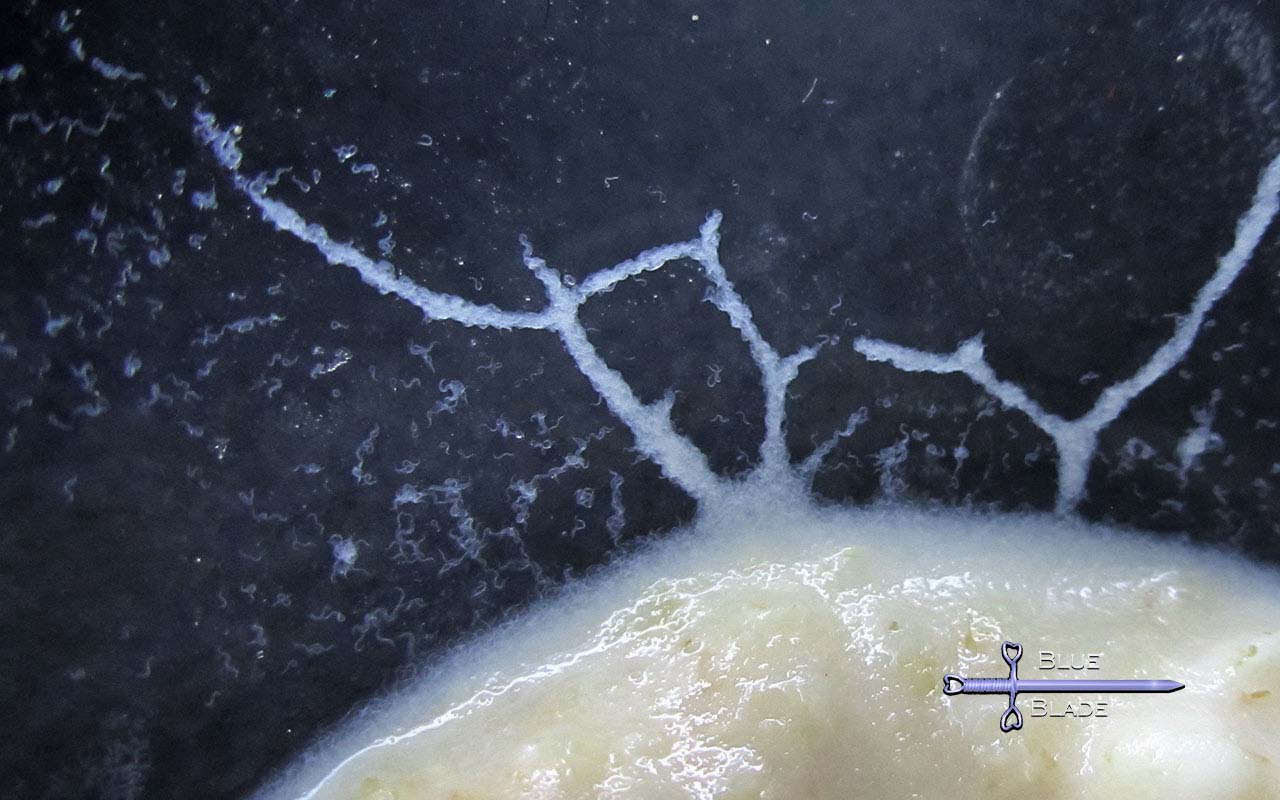
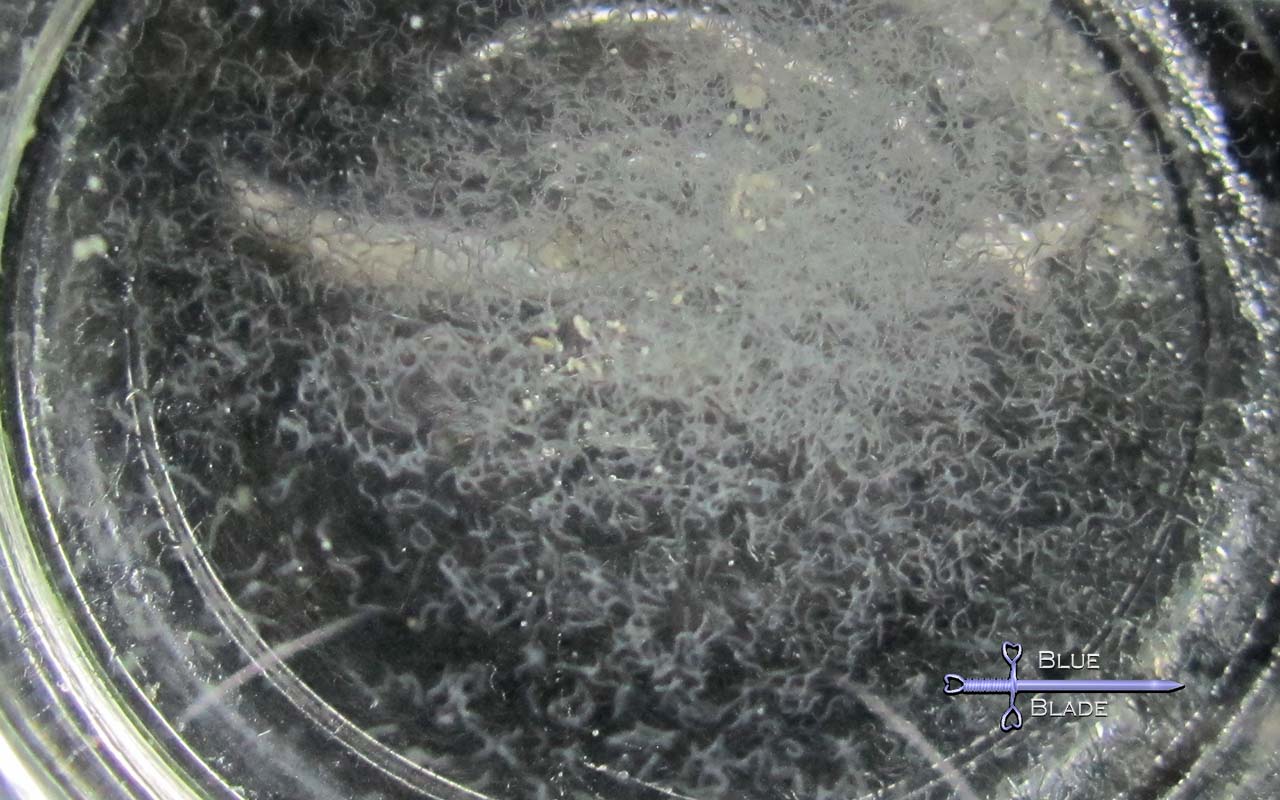
Microworms are an excellent live food for fish fry and small fish. They are tiny nematode worms ranging in size from 1-3 mm in length (about 1/32nd of an inch) and roughly 50-100 microns in diameter (as thin as a strand of hair). They can live submerged in water for 8 to 12 hours giving fry plenty of time to find and eat them without polluting the water. Their small size also makes them good food for small grazing fish like dragonets and gobies.
They are one of the easiest live foods to culture needing no maintenance other than starting a new culture every few weeks.
You will need a small amount of live Microworms to start your first culture. You can buy starter cultures of live Microworms taken from our mother cultures here.

Once you have your starter, it's time to grow and propagate.
There are 2 main aspects to culturing Microworms:
1) Environment
2) Food
Environment:
The most economical culturing tubs are recycled and washed dairy tubs (butter tubs, sour cream, whipped cream, cottage cheese, Cream cheese, etc tubs). You can go as large or small as you would like or need, but I have found that 16oz to 32oz round plastic tubs work best - look for tubs that are 3 to 4 inches tall with tight-fitting lids. This will give you enough room to have 1-2 inches of culture on the bottom with a few inches of smooth wall above it where you can harvest the worms. Add a few vent holes to the top of the lid and stuff them tightly with filter floss or sponge - this will allow fresh air in and allow the CO2 from fermenting starch to escape. The biggest issues with Microworm cultures are flies (and maggots) or mold contaminating the culture. Using some floss or sponge to block the air holes and to prevent flies from entering helps prevent these issues.
Temperature effects how fast the culture develops and goes sour. Placing your culture in a warmer location (80-90 deg F) will cause it to mature rapidly and produce more if needed, but it will also spoil much sooner. Likewise in cooler locations (60-70deg F) the culture will develop and produce slowly but it may last months before needing to be discarded. At normal room temperature (72-78) You can usually begin harvesting daily after the first week and continue harvesting for 2-3 weeks afterwards. I have not tried refrigerating the worms - let me know if you have.
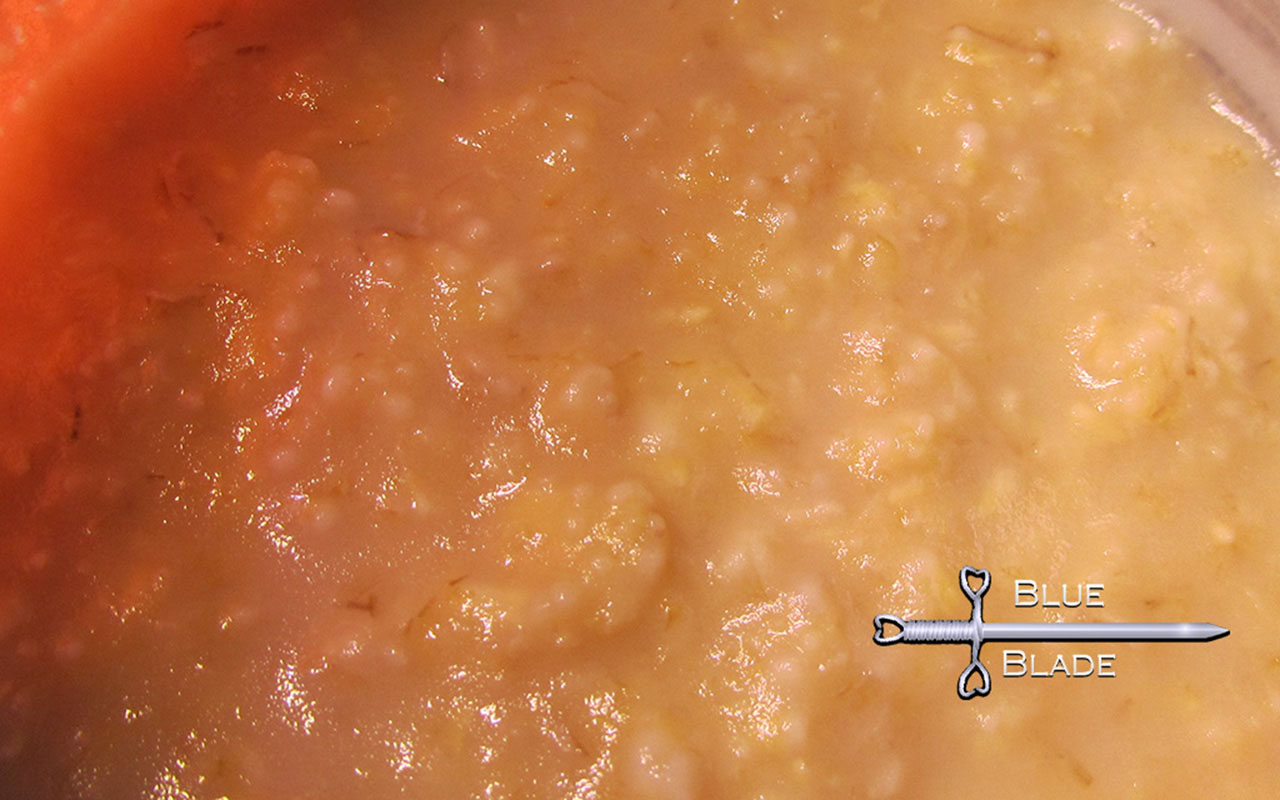
Moisture content will dictate how many worms crawl up the side and are easy to harvest. The worms breathe air, so while they can survive in liquid for a long time, they don't want to live there. As your base food is eaten and ferments it will become more and more runny, until eventually it is too liquid to support a thriving colony of Microworms. It is best to start with a thick damp paste consistency. If the starting culture medium is too dry, the worms will grow, but will not climb up and out to be cultured until it becomes runnier. Likewise, if the starting medium is too wet the worms will not be able to spend as much time feeding and will not reproduce as fast, and the culture will become liquid and spoil much sooner.

Food:
For Microworms you do not need to re-feed the culture once started. Any starchy cereal mush can be used as both the food and the substrate for the worms. Some common mediums used are oatmeal, instant potato powder, or baby cereal. I prefer Oatmeal, as I find it has the least obnoxious smell as the culture ages. You will want to heat the cereal to sterilize it. Usually, 1 minute in the microwave is enough. This helps prevent mold and mites. After the medium cools add a pinch of bread yeast (active or instant yeast) to the surface. This also helps prevent mold and serves as additional food for the worms. Even without the yeast, the medium will ferment and spoil eventually - long before the worms have eaten much of it.
feeding the worms basically means starting a new culture with fresh medium and transferring a teaspoon or two of the old culture over to get it started. The old culture can then be discarded, and the container washed and dried to be used for the next one.
Culture Process:
On Day 1 of a new culture: wash and prep your container. Add about half a cup of water and half a cup of instant oatmeal to the container and microwave for one minute. Secure the lid and allow it to cool to room temperature. Remove the lid and sprinkle a pinch of active or instant yeast over the top of the oatmeal. Add your starter culture (or a few teaspoons of an older healthy culture) and secure the lid. Store the tub in a cabinet or anywhere indoors that isn't in direct sunlight.
Day 5, you can begin harvesting. Harvest them by gently swabbing them off the side wall of the container (use your finger, a small spatula, etc.) and then rinse the harvested worms off into your fish tanks. You can harvest every day if you need to. Even multiple times per day. Or, if there is no need, you can skip harvesting altogether.
Day 20+: Before the culture sours completely - or once production begins slowing; start a new culture. Follow the Day 1 procedure using this culture as the starter, and then discard the rest of this culture
On your first harvest you can use some to start a new culture (back to day 1). If you only have one culture it is best to start at least one backup quickly.
Notes:
- After a few weeks you may stir the culture to revitalize it if production drops.
- Keep at least 2 cultures always going, to provide a backup if one goes bad (flies, mold, etc).
- When starting a new culture,and for the first few days, it should be soft like jelly but not liquid. Drain some water and add some dry oatmeal if it is too runny, or add more water if it is too firm.
- If your only culture gets contaminated or goes bad, you may still be able to start a new clean culture. Do your best to collect some clean live Microworms from the old culture, and then rinse them in a small dish. The worms should settle to the bottom allowing you to pour off the water and rinse again. Repeat this a few times and then use these "clean" worms to start the new culture.
To get your own starter cultures check out the Links under "Buy Here"
Or contact us to see if more is available or for info on any project or culture. Please email us at contact@bluebladefish.com