Materials:
1) Plastic container (shoe box, large pencil case. etc)
2) Soil or bedding (peat, coco coir, potting soil, etc)
3) Food (cereal, large fish pellets, dry Cat food, etc)
4) Grindal worm Starter culture
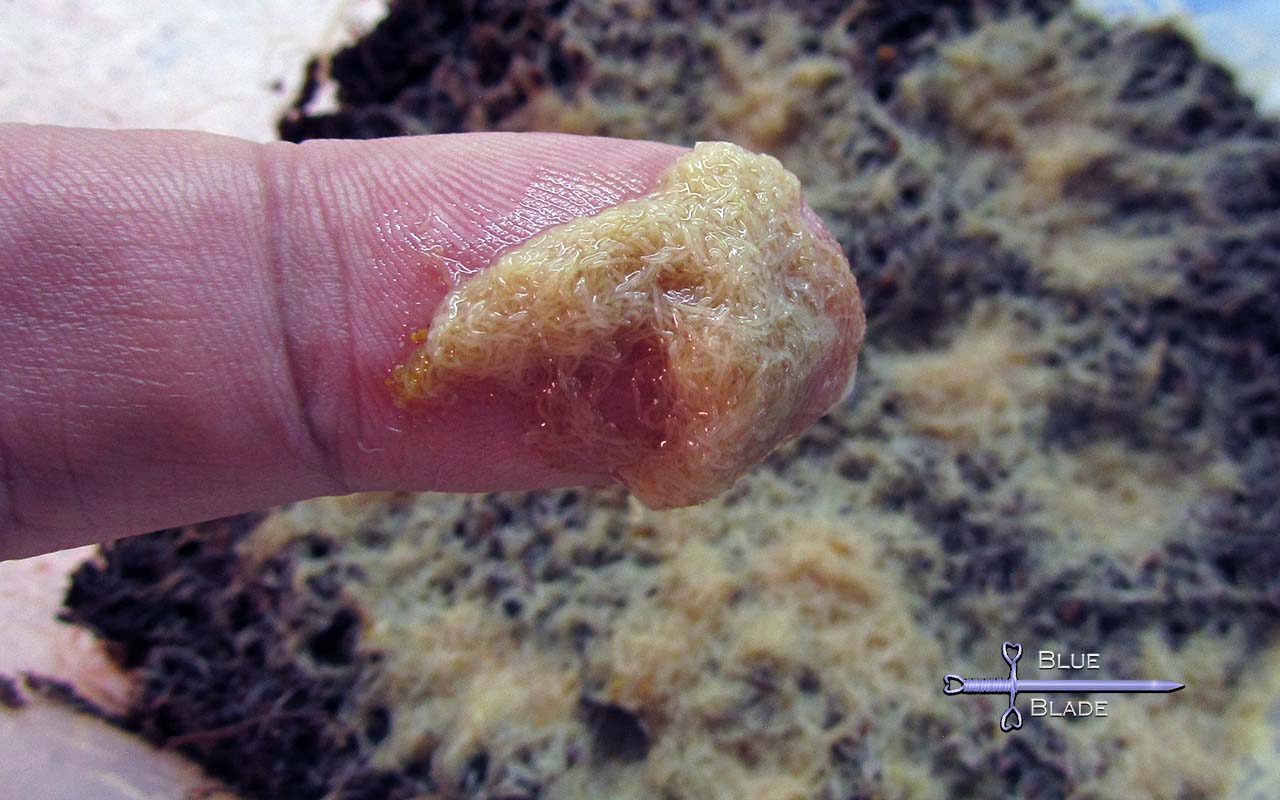
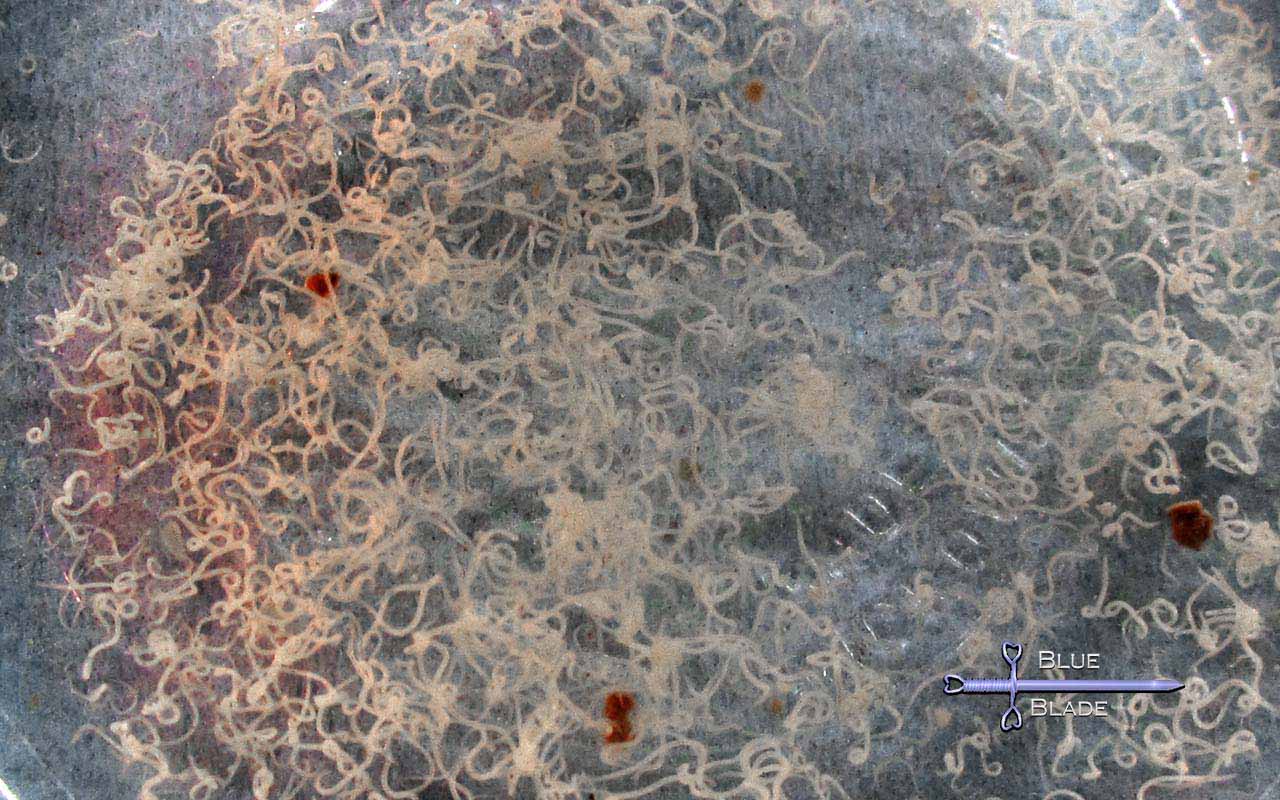
Grindal worms are an excellent live food for small and medium fish. They are small annelid worms ranging in size from 5-12 mm in length (1/4 to 1/2 inch). Unlike white worms, they do well at room temperature (70-80 deg F). They can live submerged in water for several hours. My worms are cultured in damp coco coir. A healthy mature culture in a 12"x5" box should produce enough to feed about 30 small fish every two days.
Grindal worms are easy to maintain but do require regular feeding. Daily or every two days you should check the cultures, add more food, spray in some water if needed, and harvest some worms to feed your fish. The culture should run for many months before the soil becomes sour and needs replacing.
Starter cultures are available online from several places. Our Grindal worm starter cultures come in a 12oz vented Deli cup with 4-5 ounces of mature culture to use as a starter and/or to use as is. You can buy our starter cultures here.

Once you have your starter, it's time to grow and propagate.
There are only a few requirements to keep Grindal worms growing:
1) Box of substrate
2) Water
3) Food
Box of substrate
You will need some container to grow your worms in. the most frequently used container is a plastic shoe box, but almost any waterproof box, bowl, or bin with a lid will work. Punch several holes in the lid for ventilation, and cover the holes with filter floss, sponge, or sections of coffee filter paper to keep mites and flies out.
Add 1 to 2 inches of substrate to your container as a level layer. You may use many things as the substrate, such as peat moss, potting soil, coco fiber, or even sponges or open cell foam. As long as the substrate is not too acetic (peat should be boiled to remove the acidity) it should work. I use coco coir/fiber.
Water:
The substrate should always be damp. When first adding it to your bin, add water enough that the material will feel damp and hold its shape when squeezed. Do not add so much that you can easily wring out more water. It should be damp, but not runny.
Every few feedings you should lightly spray down the surface of the substrate with a bit of water to replace what has evaporated.

Food:
Grindal worms are hungry critters that are not very picky about what food they eat. Foods with high starch or grain content works best. Table scraps or household foods such as bread, potato slices, or "cheerio's" cereal have all been recommended. Dry pet foods such as fish pellets or dog or cat kibble work well. The food should be moist and slightly soft when fed to the worms. Soak kibble, cereal, or pellets in water for a few moments before feeding.
The worms avoid exposure to open air or light. Therefore when adding food to the top of your substrate you should place a small sheet of plastic or some other cover directly on top of the food to provide them some shelter. This way they will consume all of the food, and if you time it right there will be a large number of worms directly on top and stuck to the plastic which are easy to harvest. Simply lift up the food cover and swish it into your tank to rinse off the worms and feed the fish.
Culture Process:
On Day 1 of a new culture:
1) prepare your box by adding ventilation holes and covering them.
2) Add one or two inches of damp substrate.
3) Add 3 or 4 tablespoons of your starter culture (or another mature culture) to the top of the new substrate and gently spread it into a level layer (not too compacted).
4) Add about a tablespoon of moistened food and gently cover it with a small sheet of plastic.
5) Place the box in a safe room-temperature spot away from direct sunlight and allow the worms to eat and grow.
Day 3, and every two days afterwards, check the culture. Add more food as needed. You want to feed enough that almost all was consumed. If there is extra food, feed less; if all was devoured, feed more. As the culture grows you should need to constantly increase the amount fed each time.
Day 10, harvest - after the first week or two the culture should begin to mature. now you can begin harvesting worms and feeding them to your fish every time you check and feed your culture.
Once you are happy with the population and maturity you can use some of the substrate to start a new additional culture (back to day 1). Add in some fresh substrate to replace what was removed.
Day 90+ : eventually the culture will start declining. Fewer worms will be seen, and it may have a bad smell. When this happens it's time to start a new culture and discard the old one. Use some substrate from the old one as your starter (back to day 1) and trash the rest of the old substrate - you can wash and reuse the old container.
Notes:
- Keep at least two cultures running in case there is an issue with one of them.
- It is better to have several medium cultures (shoebox sized) than one large bin. Smaller staggered cultures can be maintained at different ages and provide some separation in case of contamination.
- Every month or two you may stir the soil to keep it from getting too compacted - this helps prolong the life of the culture.
- The worms will grow slower at lower temperatures.
- if Mites infect the culture it will have a negative impact. Mites do poorly in wet conditions. Spray in a bit more water every feeding untill the mites are gone\moisture content is too high for them.
To get your own starter cultures check out the Links under "Buy Here"
Or contact us to see if more is available or for info on any project or culture. Please email us at contact@bluebladefish.com